3DS - System Font Customisation Guide
A guide for customising the system-wide font on the Nintendo 3DS.
Getting Started
Luma3DS custom firmware is required to use the mod. Install CFW if you haven't already.
Create a NAND backup before modifying any system files! Modifying the system font is safe since Boot9Strap provides brick protection, allowing recovery with GodMode9. If you messed up and the Home Menu fails to launch, use GodMode9 to restore the system font.
Never uninstall CFW while any modded system files are installed, doing so will remove Boot9Strap and fully brick the console! If you fully bricked your console, you'll need a DS flashcart with ntrboot to re-install Boot9Strap to unbrick your console.
What You Need:
-
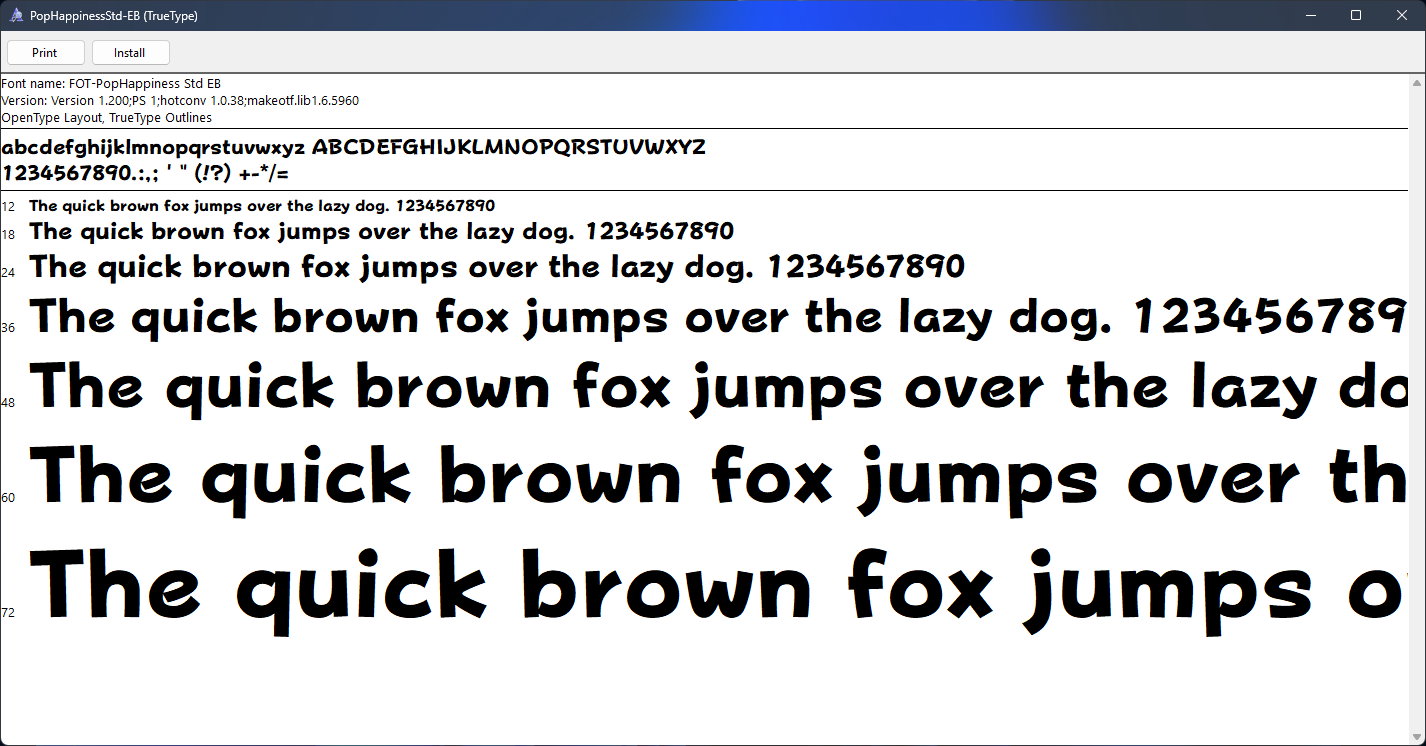
A font you want to install on a 3DS (TTF or OTF)
-
Python (version 3+)
-
FontTool (tweaked to work with Python 3)
-
At least 1080p of screen resolution needed for CTR Font Converter
Recommended OS: Windows 10 or 11 - FontTool is not compatible with Linux
Merging the Fonts
A 3DS font will be merged into a custom system font so the icon glyphs are preserved.
There are 2 ways to merge the fonts: CLI & GUI
The CLI method involves in using a Python script that calls the FontForge program to merge the fonts automatically, while the GUI method involves in using FontForge itself to merge the fonts manually.
The CLI method process is shorter than the GUI method. If the CLI method does not work for you, try the GUI method instead.
-
Go to the Wii U System Font Replacer plugin repository.
-
Download a Python script:
merge-fonts.py -
Place those 3 files in a folder:
-
merge-fonts.py -
3DS font -
nintendo_NTLG-DB_001.ttf -
A custom font - In this case:
PopHappiness.ttf(OTF also works)
-
-
Launch the Terminal app by right-clicking on File Explorer's empty space and clicking
Open in Terminal.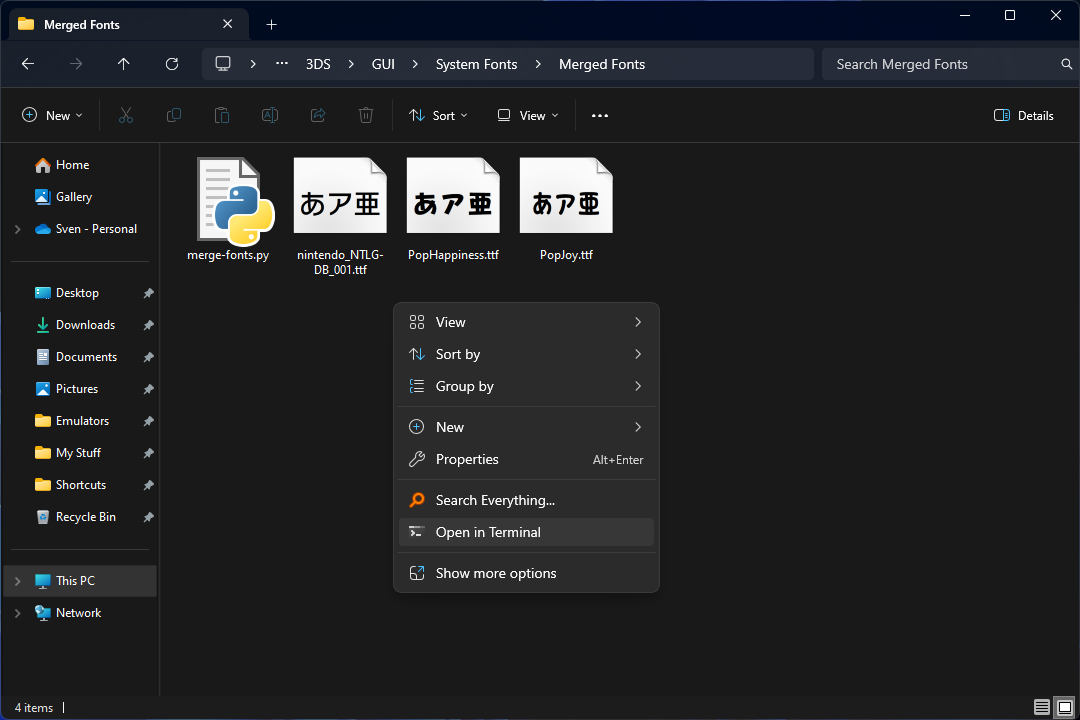
-
Input this command (pick one):
PowerShell:
& 'C:\Program Files (x86)\FontForgeBuilds\bin\fontforge.exe' merge-fonts.py PopHappiness.ttf nintendo_NTLG-DB_001.ttf PopHappiness_Merged.ttf
Command Prompt (CMD):
"C:\Program Files (x86)\FontForgeBuilds\bin\fontforge.exe" merge-fonts.py PopHappiness.ttf nintendo_NTLG-DB_001.ttf PopHappiness_Merged.ttf
Those are single line commands - they are wrapped so the whole commands are displayed for easy copy without horizontally scrolling.
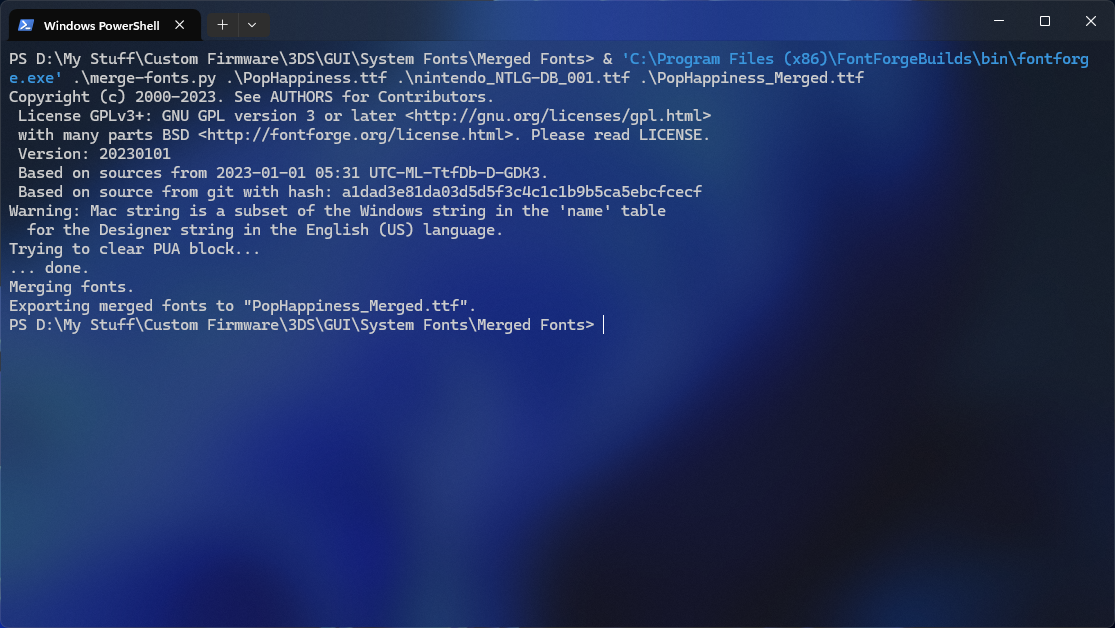
The fonts have been merged as
PopHappiness_Merged.ttf. -
On a File Explorer window, open the merged font file and install it.
-
Launch FontForge.
-
Open the custom font file (TTF/OTF).
-
Go to
Element→Font Info...→General. -
Set the
Em Sizevalue to1000and clickOK. The custom font size will be adjusted so it matches the 3DS font size. Skip if the em size is already 1,000.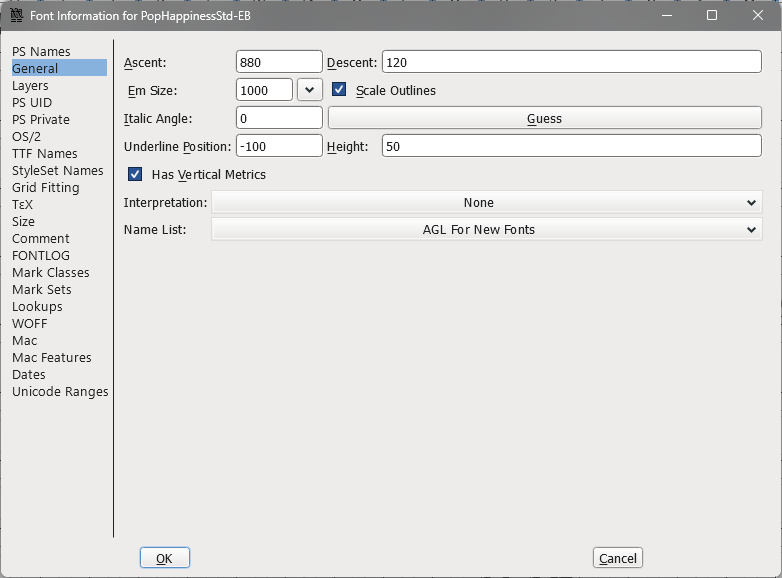
-
Go to
View→Goto, inputU+E000into the text box to jump to the Private Use Area block. -
If the custom font contains any non-3DS glyphs in the PUA block, go to
File→Execute Script, input this code into the text box:fontforge.activeFont().selection.select(("ranges", None), 0xE000, 0xE07E) fontforge.activeFont().clear()and click
OK. This will clear out all the non-3DS glyphs in this block.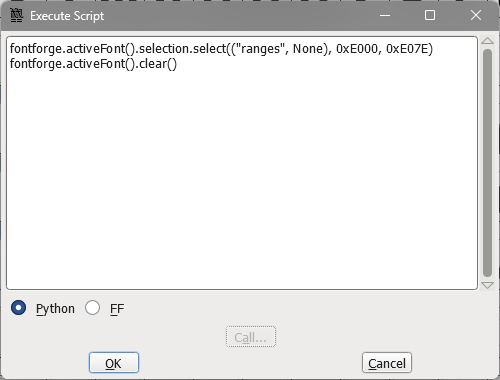
-
Go to
Element→Merge Fonts...and select a 3DS font file. -
Click
Yeswhen prompted to retain kerning info.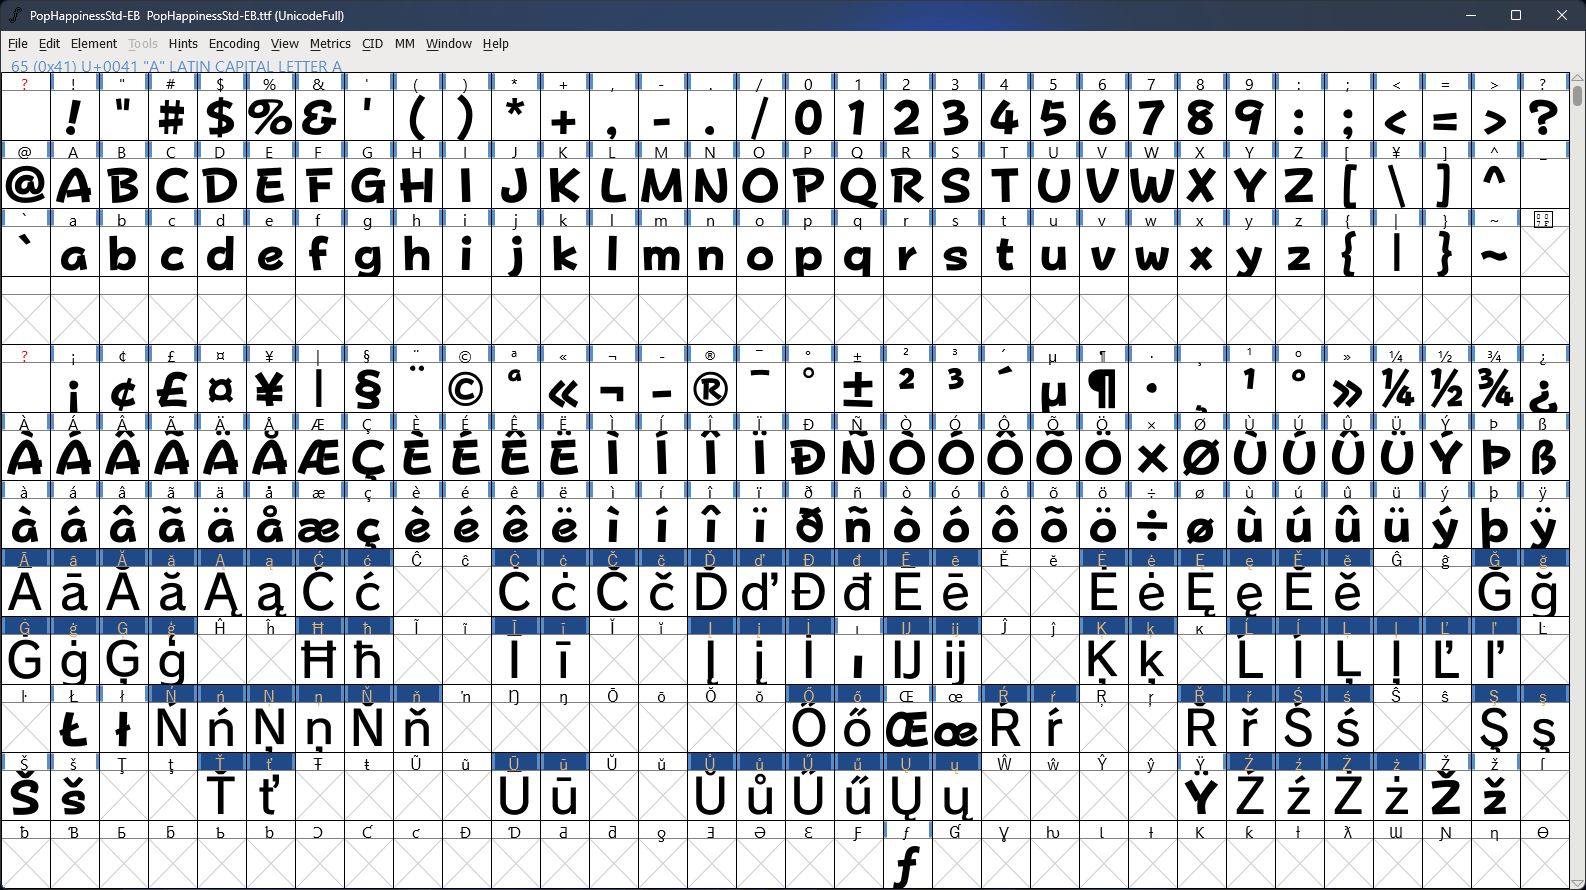
-
Go to
File→Generate Fonts.... -
Pick
TrueTypein the combo-box, uncheckValidate Before Saving, then clickGenerate.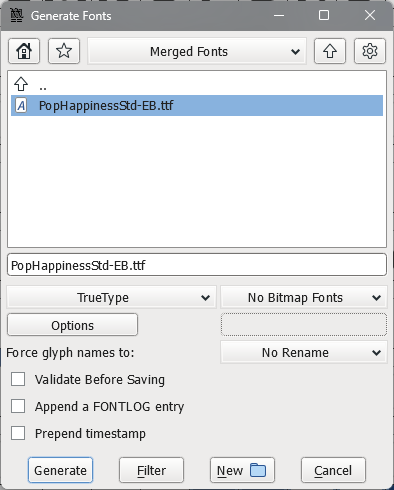
-
On a File Explorer window, open the merged font file and install it.
Generating the Custom System Font
-
Launch CTR Font Converter.
-
A dialog will say that .NET Framework 3.5 isn’t installed, click “Download and install this feature”.
-
Wait for the download to complete, then relaunch that app.
-
-
Go to the
Windows Fonttab and select a recently installed font. -
Set the font size - start with 20px.
- If the font size is too big/small after installing to a 3DS, come back to it and try a different font size until you get it right.
-
Set the bit depth to
16 levels (A4).-
This option is not accessible if your screen resolution is lower than 1080p as the Input and Output sections do not have scroll bars.
- If you’re on a laptop and the screen resolution is 1080p with high DPI
scaling, launch Settings, go to
System→Display→Scale & layout, and temporarily set theScalingvalue to100%.
-
-
Activate the
Use filtercheck-box, clickSelect file, go to thexlltfolder and select a3ds_bitmap_font_std.xlltfile.- This will clear out all the glyphs not used in 3DS games/apps, reducing the font file size. Max file size for compressed BCFNT file (after running FontTool) is 1.5 MiB.
-
Go to the
bcfnt / bcfnatab. -
Save the font file as
SystemFont.bcfntto theFontToolfolder. -
Click
Convert.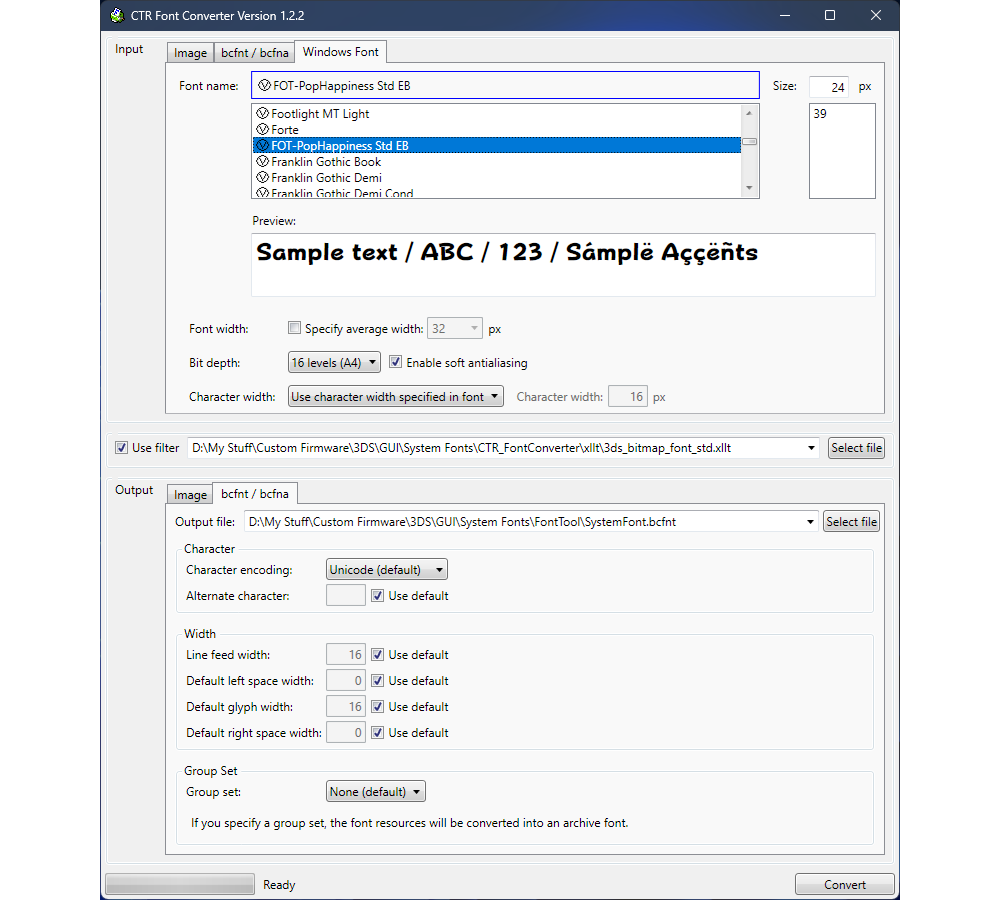
Click the screenshot for full view.Note: The preview section has a different result depending on where the font is installed:
-
The corresponding font is displayed if that font is installed to
C:\Windows\Fonts(right-click on a TTF file →Install for all users) -
Otherwise a Windows system font is displayed if that font is installed to
%LocalAppData%\Microsoft\Windows\Fonts(click theInstallbutton on Windows Font Viewer)
This does not affect the custom font file generation, you can install a TTF font to whichever Fonts folder you want.
-
-
Go to the
FontToolfolder. -
Launch the Terminal app by right-clicking on File Explorer’s empty space and clicking
Open in Terminal. Input this command:python FontTool.py -font SystemFont.bcfntor launch
convert-system-font.cmd.
The
SystemFont.ciafile has been generated.Rename
SystemFontto match the actual font name, in this case:PopHappinessFont.cia.If you want to install it to Azahar emulator, launch
compress-bcfnt-file.cmdand the font file will be compressed asSystemFont.bcfnt.lz.
Installing the Custom System Font
GodMode9 v2.0.0 or above is required to install .cia files.
Get the
latest version of GodMode9 here.
-
Add a generated CIA file to the SD Card.
-
Boot the console while holding the
Startbutton to launch GodMode9. -
Browse and select a CIA file.
-
Select
CIA image options...→Install game image.-
CIA files generated by FontTool are already encrypted, so there's no need to re-encrypt it.
-
-
Reboot the console.
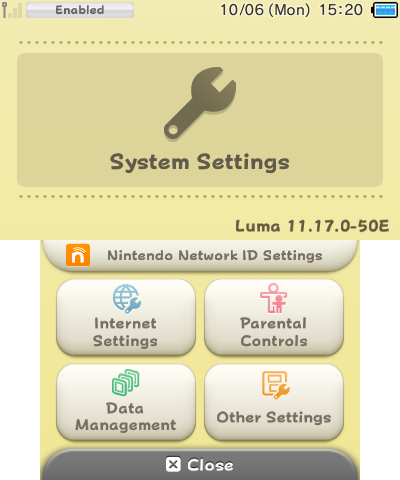
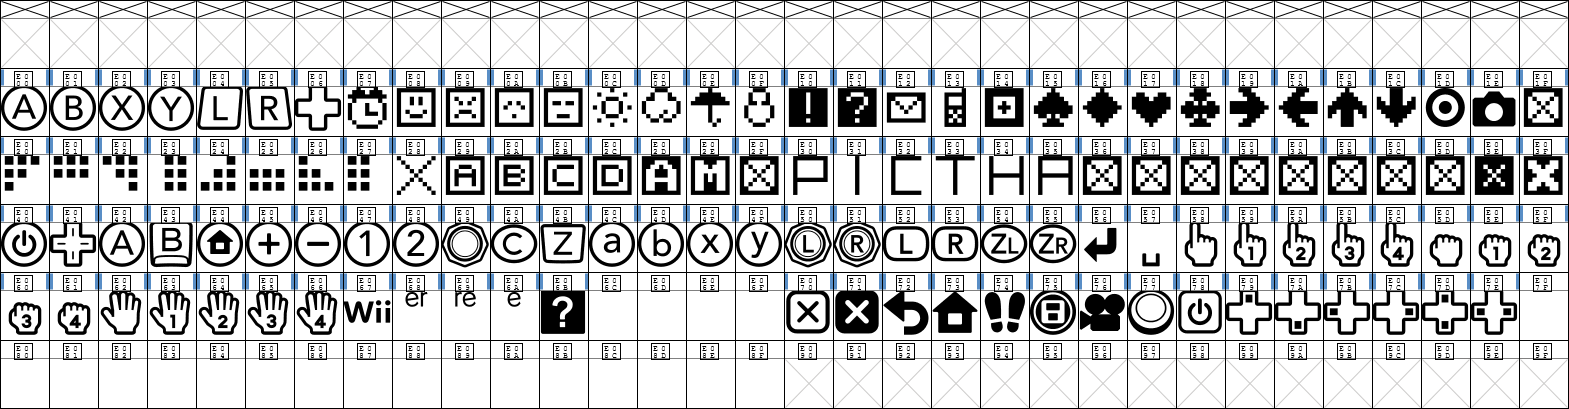
The custom system font has been installed!
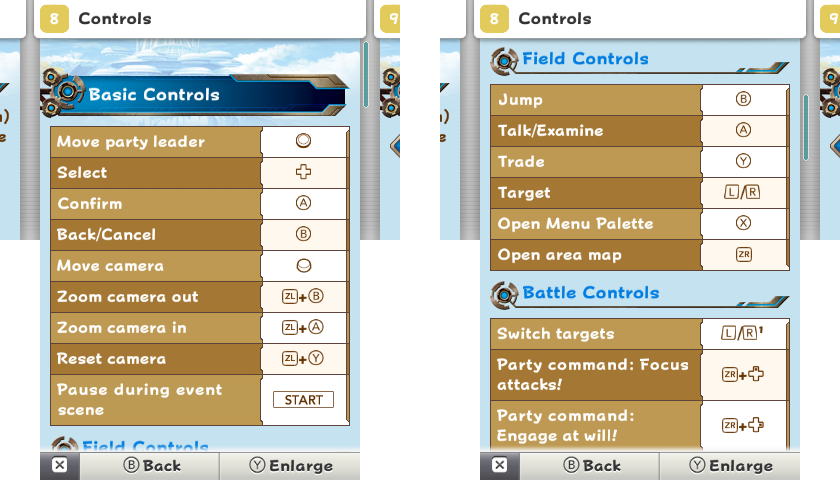
The button glyphs should be preserved.
The ZL/ZR/C-Stick/Start glyphs are part of the game's digital manual, not the system font.
You can also install the custom system font to Azahar emulator.
The system files need to be installed to a virtual NAND before continuing. Follow the instructions for setting up system files on an emulator. A real 3DS is required.
-
Rename the compressed font file to
cbf_std.bcfnt.lz. -
Launch Azahar.
-
Go to
File→Open Azahar Folder. -
Navigate to
/load/mods/0004009B00014002/romfs. Create folders if those don't exist. -
Add a
cbf_std.bcfnt.lzfile here. -
Launch the Home Menu by going to
File→Boot Home Menu→EUR/USA/JPN.
The custom system font has been installed!
The button glyphs should be preserved.
The ZL/ZR/C-Stick/Start glyphs are part of the game's digital manual, not the system font.
Restoring the System Font
-
Download the original system font.
-
Add a
SystemFont.ciafile to the SD Card. -
Boot the console while holding the
Startbutton to launch GodMode9. -
Browse and select a
SystemFont.ciafile. -
Select
CIA image options...→Install game image. -
Reboot the console.
The system font has been restored.
-
Launch Azahar.
-
Go to
File→Open Azahar Folder. -
Navigate to
/load/mods/0004009B00014002/romfs. -
Delete or rename the
cbf_std.bcfnt.lzfile. -
Launch the Home Menu by going to
File→Boot Home Menu→EUR/USA/JPN.
The system font has been restored.
Tools Used
FontTool by astronautlevel2 & ihaveamac
3dstool by dnasdw
make_cia by Tiger21820 & 3DSGuy